

Free audio transcription on Windows with Whisper
Install + user guide for local machine audio transcription with OpenAI Whisper

Want to transcribe audio for free, privately, and directly on your own computer—without sending anything to Big Tech servers? The Const-me/Whisper project is exactly what you need. It’s a fast, lightweight, GPU-accelerated implementation of OpenAI’s Whisper speech-to-text model, rebuilt from the ground up in C++ for Windows. Transcribe interviews, lectures, podcasts or meetings securely—this version runs entirely offline and offers a useful desktop interface or native code integration. We’re using it because it delivers accurate, real-time transcription without the cloud, without Python, and without compromise.
Windows installation
System requirements: 64-bit Windows 8.1 + · Direct3D 11-capable GPU · CPU with AVX & F16C instructions. Virtually any PC from 2012 onward qualifies.
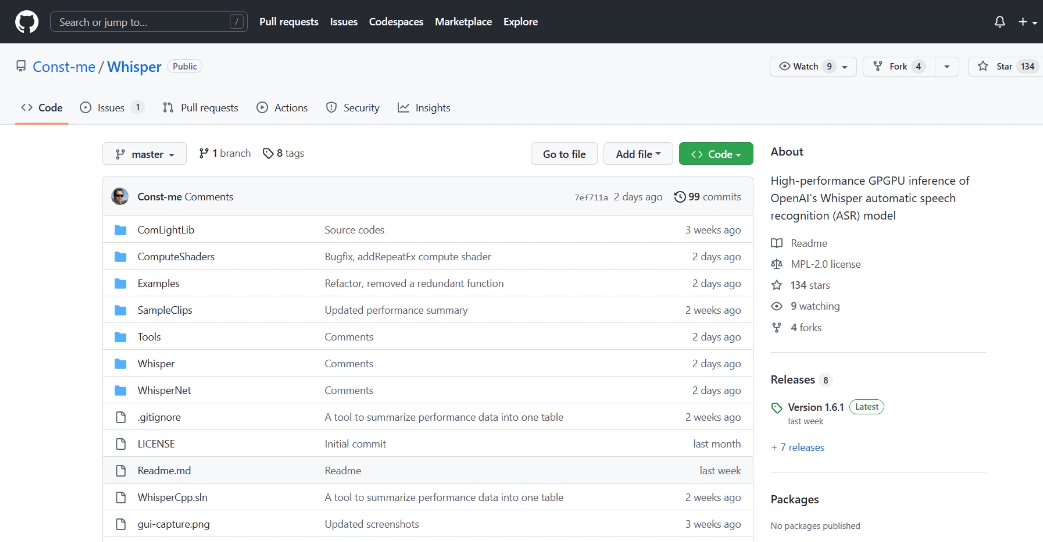
Go to the Github repository at https://github.com/Const-me/Whisper:
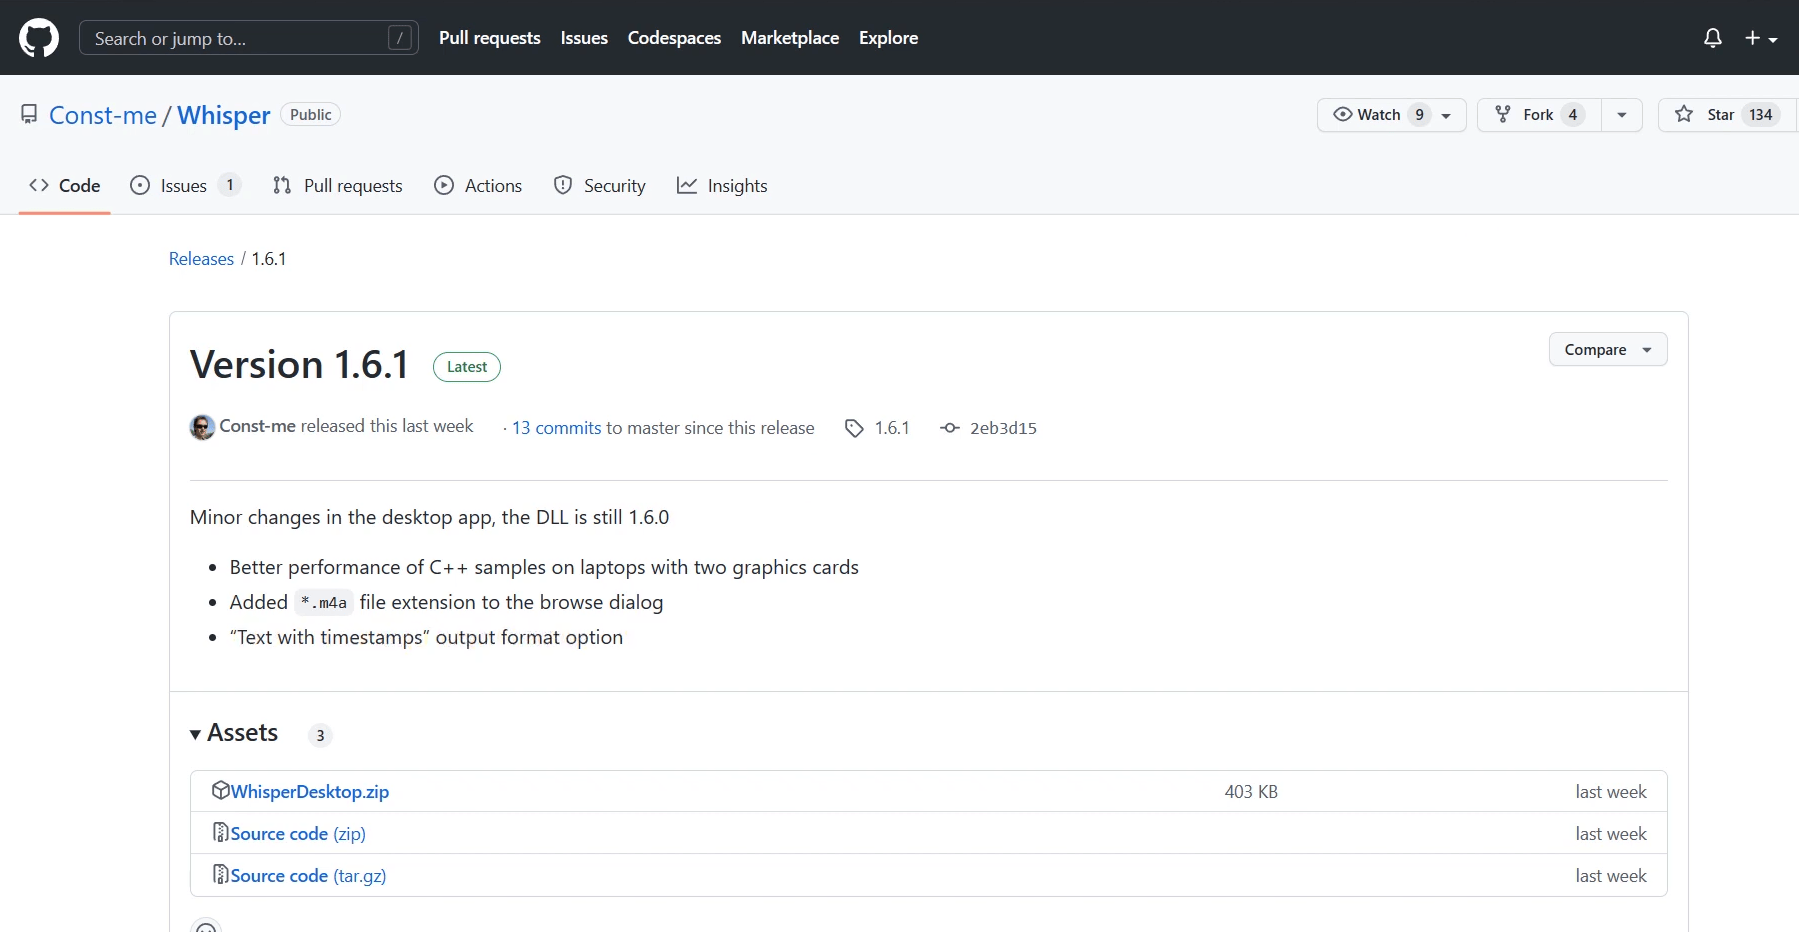
Go to the Releases page and download the latest WhisperDesktop.zip:
Unpack & launch
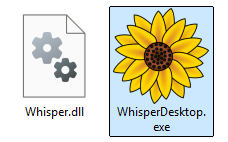
Unzip the file anywhere you like. In this walkthrough, we’ll be using
C:\WhisperDesktop\as our working directory.Double-click WhisperDesktop.exe
Download a model on first launch
Whisper Desktop immediately asks for the path to a speech-to-text model
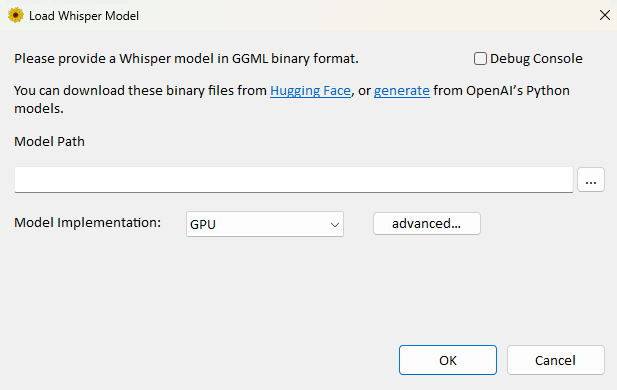
If this is your first time launching the application, you don’t have one yet. So click on the Hugging Face link in the prompt. This will bring you to ggerganov’s Huggingface space:

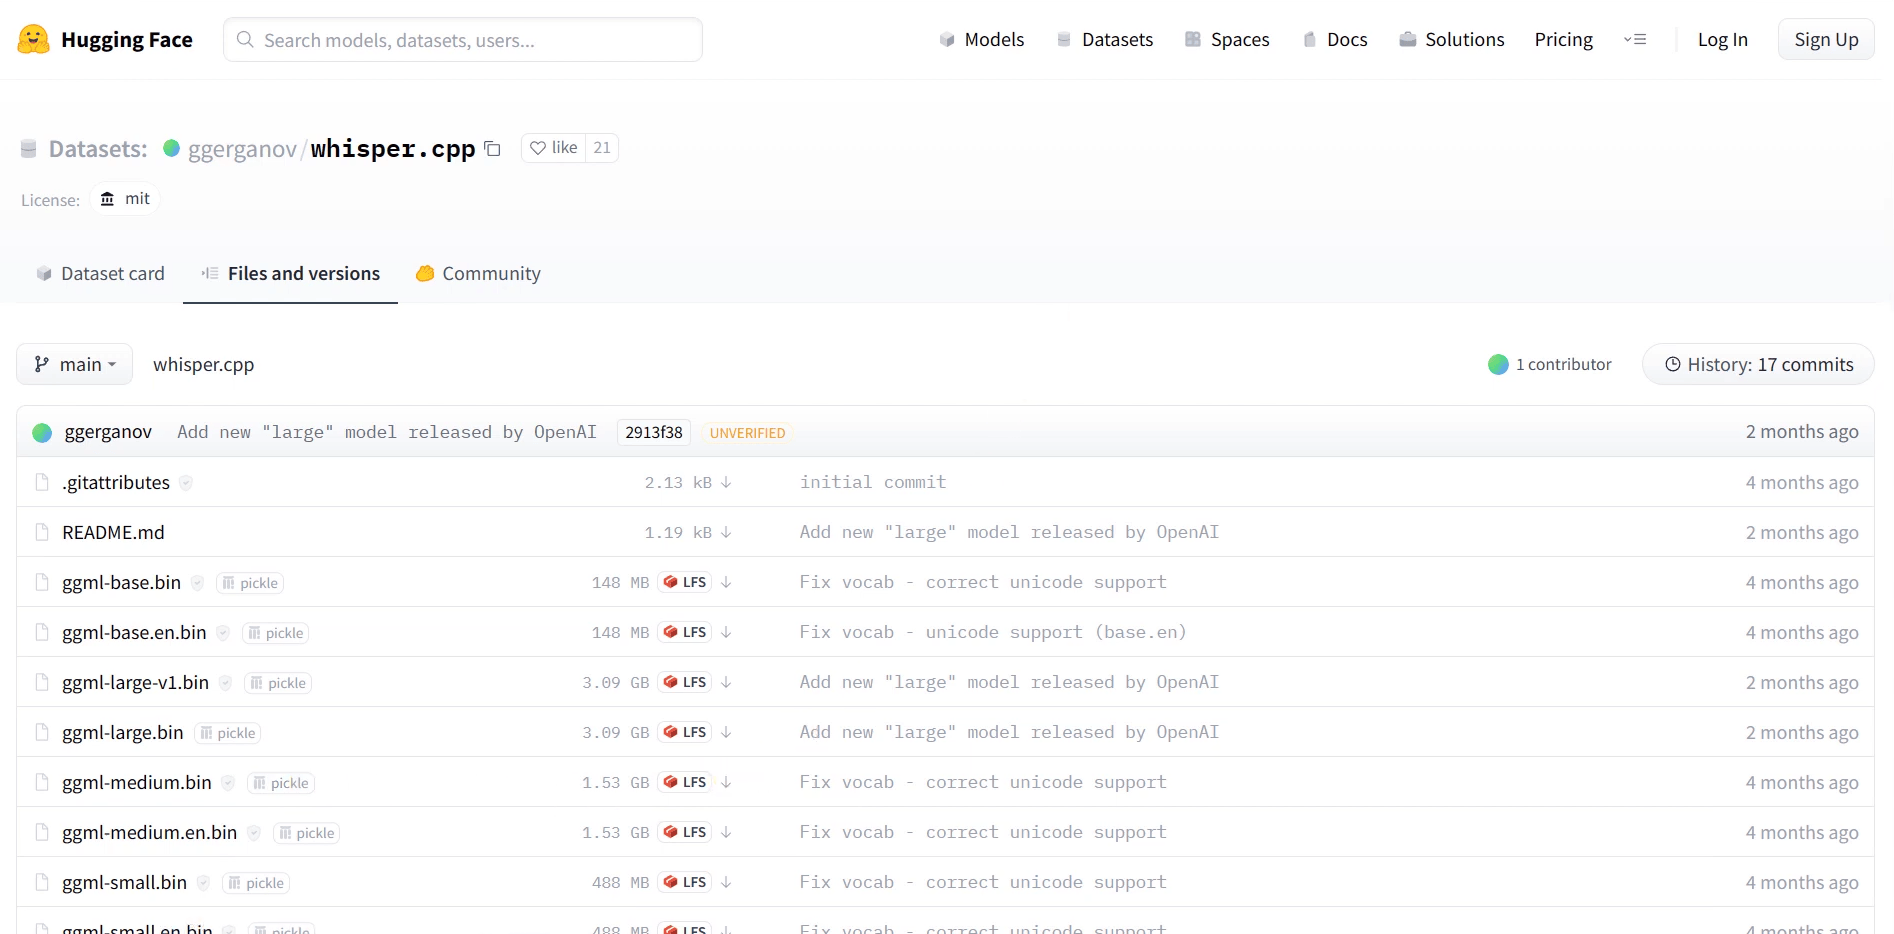
Go to the Files tab in the Huggingface space. Here is the link in case the application doesn’t send you there: https://huggingface.co/ggerganov/whisper.cpp/
Find the
ggml-medium.binfile in the list (~1.4 GB) and download it into your WhisperDesktop folder.The Github repository recommends the medium file, but feel free to try out larger or smaller model files, depending on what your hardware can handle.
Now browse for your file model in the application window. Depending on where you located your model, it will look something like this:
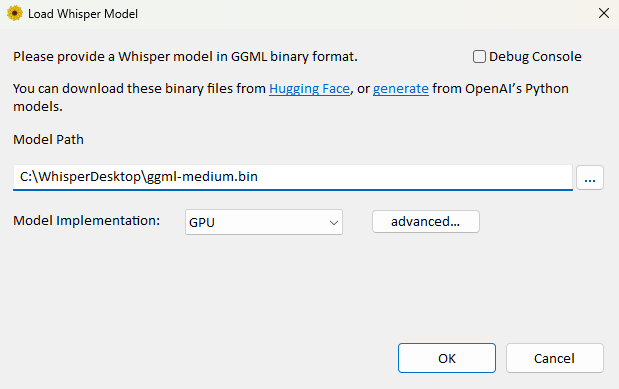
No need to mess with any of the advanced settings. Just click OK.
Transcribe an audio file
On the Transcribe Audio File screen, browse for the audio file you want to transcribe.
Select the Output Format. This will determine the formatting of your transcript.
Select Text file to output only a text transcript.
Select Text with timestamps to add timestamps to the text.
Select any of the Subtitles options to export the transcript in a specific subtitle format.
Select the output path by either browsing to it or checking Place that file to the input folder:
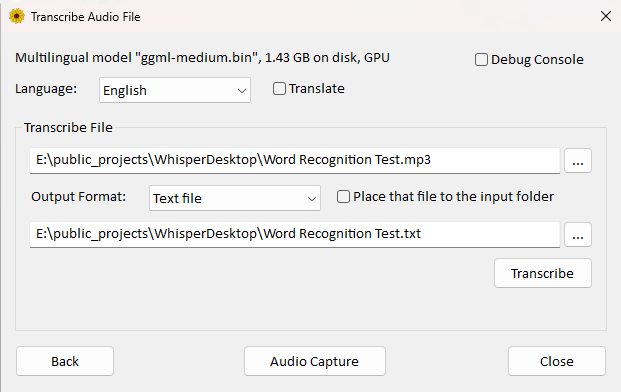
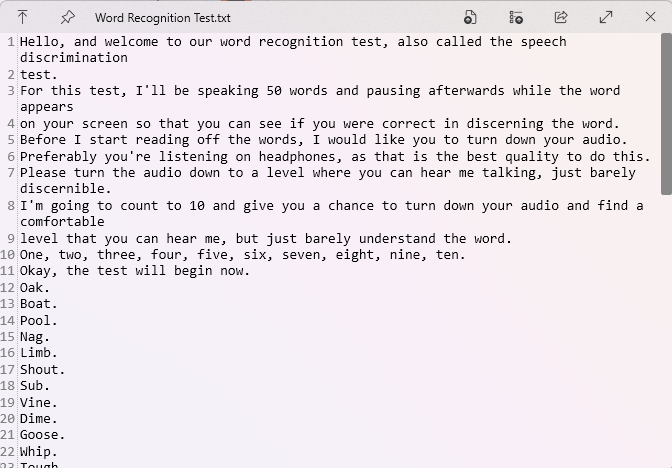
Click Transcribe and wait for the transcription to complete. You will then find an output file in your selected output directory. In my case, this is a .txt file containing a text transcript of the word recognition test I gave it to transcribe:
Congratulations! You have made your first AI-assisted audio transcript! That’s all it takes! Download the ZIP, unzip it, run the app, and start transcribing. No setup, no accounts, no internet required. Just fast, private speech-to-text on your own machine.